Do you have an 80-square-foot camper van and want to turn the lights on and off from any position without moving? You’ll need multiple switches—two-way, three-way, four-way, or even ten-way switches—to accomplish this. In this guide, we’ll walk through how to wire these types of switches, but fair warning: this process is complicated, and there are better alternatives.

3-Way, 4-Way, 5-Way Switches – VIDEO
Coming Soon!
Prerequisites: Basic Wiring Skills
Before we jump into the tutorial, there are a couple of things you should already know. If you’re not familiar with basic wiring techniques—like cutting wire, stripping wire, and crimping terminals—I recommend checking out the Wire Terminals playlist in our Academy that covers these skills. Once you have those basics under your belt, you’ll be ready to wire up USB and 12-volt outlets like a pro.
For this demo, we’ll be using a Blue Sea Blade Fuse Block. There are several types of fuse blocks available, including models from Progressive Dynamics, Blue Sea Safety Hub, and Tiger Expedition UFO 200. While the specifics may vary, the connection method is essentially the same. You’ll also need a distribution hub—such as the Victron Lynx Distributor—to bring power from the battery, but we’re going to focus on the connections to the outlets for now.
Safety First
Before starting, always make sure your power is off. In this demo, we’ve already pulled the fuse from the fuse block to ensure there’s no power running through the wires while we work.
Understanding Multi-Way Switches
Multi-way switching allows you to control a single light from multiple locations, but the wiring quickly becomes complex. Let’s break it down step by step.
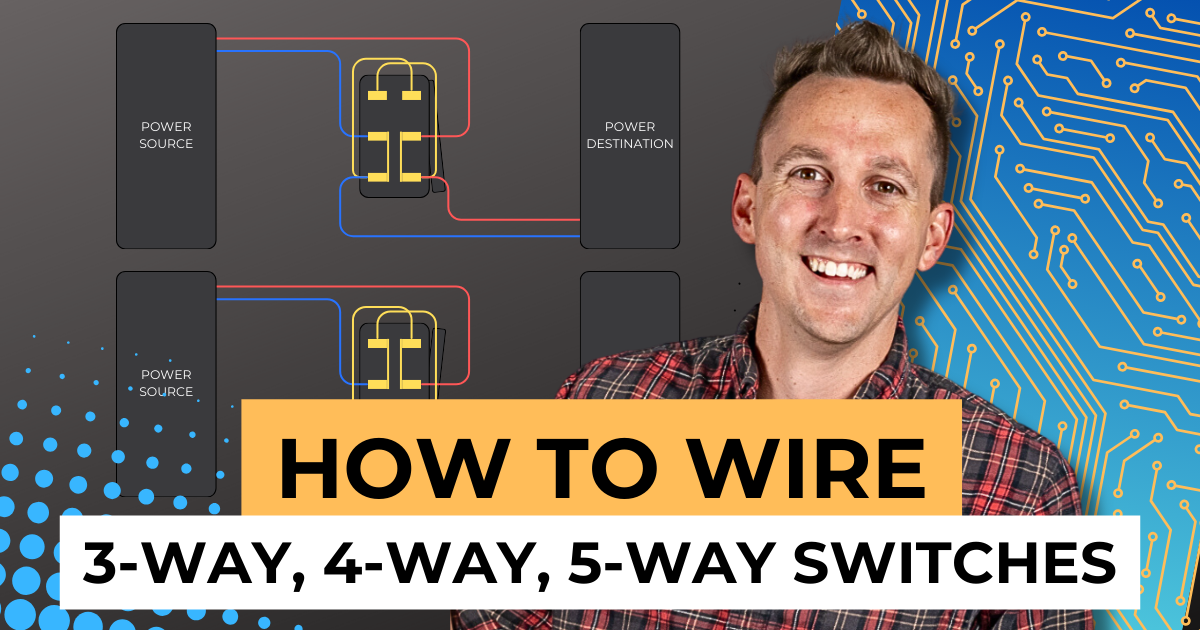
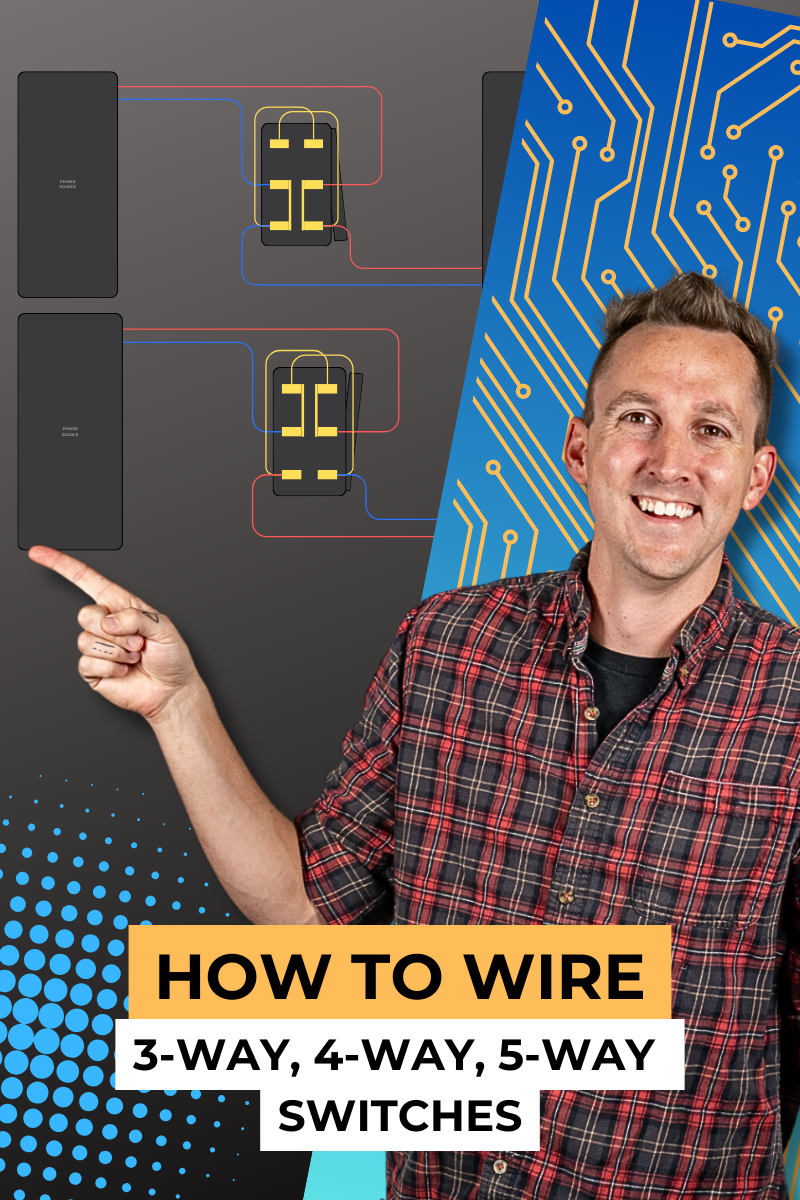
Three-Way Switching (Two Switches, One Light)
A three-way switch setup lets you turn a light on or off from two locations. It requires two single-pole, double-throw (SPDT) switches. These switches have three terminals: one input and two outputs. The flow of power is redirected based on the position of the switches.
Here’s how it works:
- Power enters the first switch.
- Depending on the switch’s position, power is directed to either of two output terminals.
- Power travels through the second switch, which determines whether it reaches the light.
- If the circuit is complete, the light turns on; if not, it stays off.
Four-Way Switching (Three Switches, One Light)
Adding a third switch introduces a double-pole, double-throw (DPDT) switch, which acts as a polarity reverser. It has six terminals and flips the output polarity as it toggles.
- Insert the DPDT switch between two three-way switches.
- The power path now depends on the switch positions, flipping polarity to ensure the light functions correctly.
- Depending on the configuration, any of the three switches can turn the light on or off.
Five-Way Switching and Beyond
Every additional switch requires another DPDT switch, adding even more complexity. The wiring essentially forms a chain where each new switch reroutes power in the circuit. Theoretically, you can add as many switches as needed, but in a small camper van, this quickly be comes overwhelming.
Why This Might Not Be the Best Idea
While multi-way switches work in homes, they’re overkill for most van builds. Even in houses, modern smart switches like Lutron Caséta or Kasa Smart Switches allow remote operation without complex wiring. Similarly, in a camper van, a REDARC TVMS system lets you control lights via a touchscreen, physical switch, or even a smartphone app—eliminating the need for a spiderweb of wires.
A Simpler Solution
Instead of dealing with multi-way switches, consider installing a wireless switch system or a smart control module like REDARC TVMS. These solutions:
- Allow light control from multiple locations.
- Reduce complicated wiring.
- Provide better flexibility and easier troubleshooting.
Final Thoughts
While wiring multi-way switches in a camper van is possible, it’s far from practical. If you still want to experiment, test it out on a tabletop first before committing to an installation. Otherwise, save yourself the headache and go with a smart control system.
For our next tutorial, we’ll be covering water pumps and switch wiring, which is much simpler than this multi-way switch chaos. Stay tuned!
