
Every component and device that you’ll install in an electrical system will have its own type of connection, and the best ‘attachment’, or ‘terminal’ to use for each device is exactly what we are going to cover here in lesson #1 of this Wire Terminals playlist.
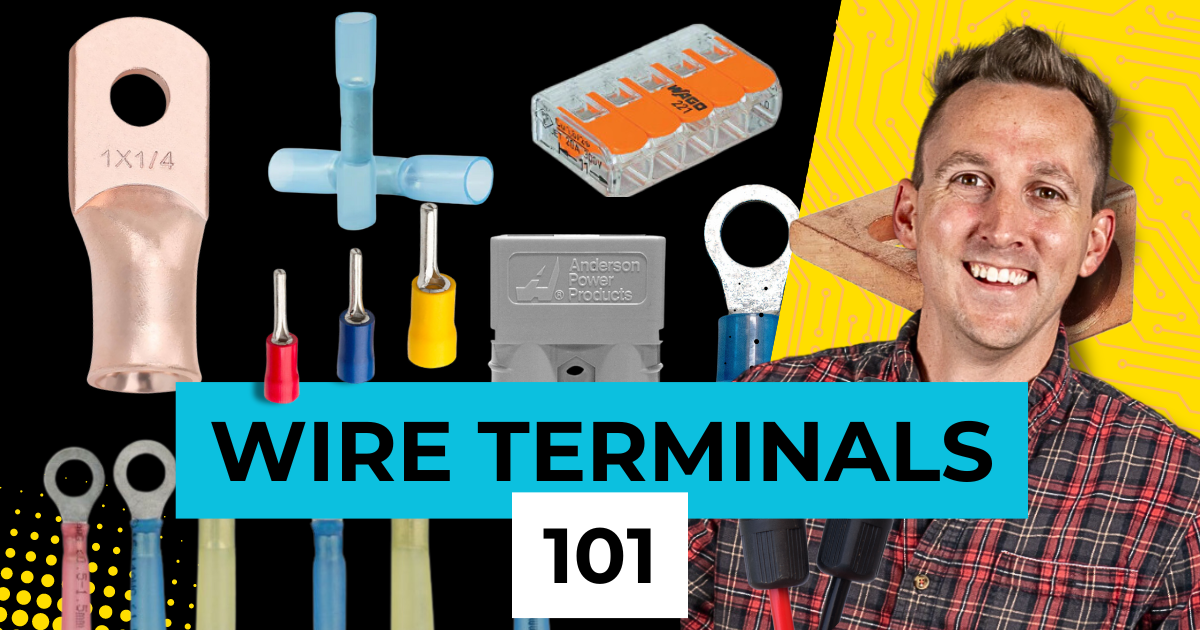
There are 1,000’s of types of wire connectors on the market, but we aren’t going to cover all of them. Instead; we are going to cover the most popular ones you’re likely to find in most ‘typical’ installations like we talk about on this channel. I’m going to break these down into the format of: Type of Component Connection -> What type of wire terminal goes on it -> Examples of related Components. Let’s get started.

COMING SOON

If a component has a ‘stud’ that just looks like the threaded part of a bolt OR a bolt that threads into the component itself AND the component requires 8 AWG or larger wire; you will be using a “Wire Lug” to make the connection.
To choose the proper wire lug; you need two things. You need to know the wire size, and the stud size.

Wire lugs will be classified by those two measurements. For example:
A 4/0 by 5/16” wire lug will accept 4/0 wire and the hole in the lug will fit onto a 5/16” stud.
Wire lugs are most commonly sized for wires from 8 AWG up to 4/0 as well as for stud sizes from a #8 screw up to a ½” stud; with ¼”, 5/16”, and ⅜” being

the most common.
Examples:
Some examples of components that require wire lugs will be:
The Positive and Negative terminals of a Victron Multiplus Inverter Charger
The Positive and Negative Input terminals of the Blue Sea Safety Hub
All of the Terminals of the Victron Lynx Distributor
Tiger Exped UFO200
Variations:
Wire lugs come in Tinned and Un-Tinned variations. Un-Tinned are simply pure copper and the tinned versions are coated in a thin layer of tin plating that helps prevent corrosion in corrosive atmospheres like on a boat subject to salty sea air.

There are also mechanical lugs with a set-screw that holds the wire in place instead of being crimped and these should basically only be used in breaker boxes for service entries and not for much of anything else. These should NOT be used in any system that moves like a boat or RV.

If a component has a ‘stud’ that just looks like the threaded part of a bolt OR a screw that threads into the component AND the component requires 8 AWG or smaller wire; you will be using a “Ring Terminal” to make the connection.
Ring Terminals are basically just smaller and thinner wire lugs for generally smaller wires.
To choose the proper ring terminal; you need two things. You need to know the wire size, and the stud size.
Ring Terminals will be classified by those two measurements. For example:
A 14-16 AWG x #10 ring terminal will accept 14-16 AWG wire and the hole in the terminal will fit onto a #10 stud or screw.

Ring Terminals are most commonly sized for wires from 20 AWG up to 6 AWG as well as for stud sizes from a #6 screw up to a ½” stud; with basically every size in between being fairly common depending on the device it’s connecting to.

Examples:
Blue Sea Safety Hub – Small Terminals
Tiger Exped UFO200
Variations:
There are several common variations of ring terminals:
- Insulated Ring Terminals have a nylon insulator around the crimp barrel of the ring terminal that decreases the amount of conductive metal exposed.
- Un-insulated Ring Terminal have no insulation and these typically would get a little piece of heat shrink applied right over the crimp connection
- Heat Shrink Ring Terminals have some pre-attached heat shrink right on the crimp connection that would be activated after the ring terminal has been crimped onto the wire
A screw terminal is a terminal that has an opening with a set screw on top where the wire gets clamped into place when the screw is tightened.

For components with these types of connections; we have three options.
- Ferrules
- Pin Terminals
- Bare Wire
Ferrules are a VERY thin sleeve of tin that, more or less, just goes around the wire and gets crimped into place and simply holds the wires together so we can ensure that all of the wires actually go into the terminal.
Pin Terminals serve a similar purpose but instead of a sleeve, it crimps onto the end of the wire and then there is a solid ‘pin’ on the end that goes into the terminal. These are good for terminals where fine stranded wire ‘should’ be used, but a ferrule may be too big to fit into the terminal. These aren’t particularly common.
Simply inserting stripped wire into a screw terminal is often acceptable; just be sure to follow manufacturers recommendations here, but more importantly, make sure that ALL strands of the wire actually make it up into the terminal, otherwise you’ll have a loose connection and the terminal can melt.
Ferrules are tools and they can make your project easier and have a bit better workmanship; but remember… if it’s not required; and if it makes the job harder rather than easier; you can usually omit it.
Examples of components with screw terminal:
Victron SmartSolar MPPT
Variations:
There are two different ‘variations’ of ferrules, and those are insulated and non-insulated. The insulated ferrules have a nylon barrel around the base, and a non-insulated ferrule does not; and we would typically put a bit of heat shrink over the back of the non-insulated ferrule to clean things up a bit and add a bit of extra protection and strain relief.

Outside of that, both types of ferrules can take on several shapes, like:
- Hex shaped for round screw terminals
- Square shaped for square screw terminals
- Trapezoid shaped for square screw terminals

All of these different ‘shapes’ are made by the different type of crimper used, which we’ll talk more about in a future video.
If you need to connect two wires together, there are several options available that we recommend:

Lever Nut
Butt Splice Crimp Connector
Examples:
Anderson Connectors: Connection at Hitch Between Tow Vehicle and RV.
Lever Nut: 1 or More wires, 10 AWG or smaller – Puck Lights
Butt Splice: Joining 2x wires – Redarc 25A BCDCVariations:
- Anderson connectors
- Butt splice connectors
- Insulated
- Non Insulated
- Heat Shrink
- Lever Nuts
- 2, 3 & 5 wire version.
- Version for 10AWG and smaller
- Version for 12AWG and smaller
Most solar panels on the market come standard with PV connectors. These are also commonly known as MC4 Connectors. MC4 Connectors is simply a ‘brand’ of PV connectors much like how ‘Kleenex’ is a brand of tissue paper.
They come in a ‘male’ and ‘female’ version for positive and negative connections. They click and lock together to create a weathertight seal.
A lot of people like to cut these off in favor of soldering them together, but these PV connectors are literally made for this application; so consider not doing that.

Variations:
PV Fuses – Adding fuses to a solar array if needed
PV Branch Combiners – Combines solar panels, or series-strings of solar panels in parallel to make a larger solar panel array.
Conclusion
I know there are a LOT of different wire terminals for various components in a mobile, marine, or off-grid electrical system, and I hope this lesson provided some clarity.
In the remainder of this Wire Terminals playlist, I’m going to teach you how to actually install these different terminals, starting with the absolute basics: learning how to cut wire from 22 AWG all the way up to 4/0, which is up next.