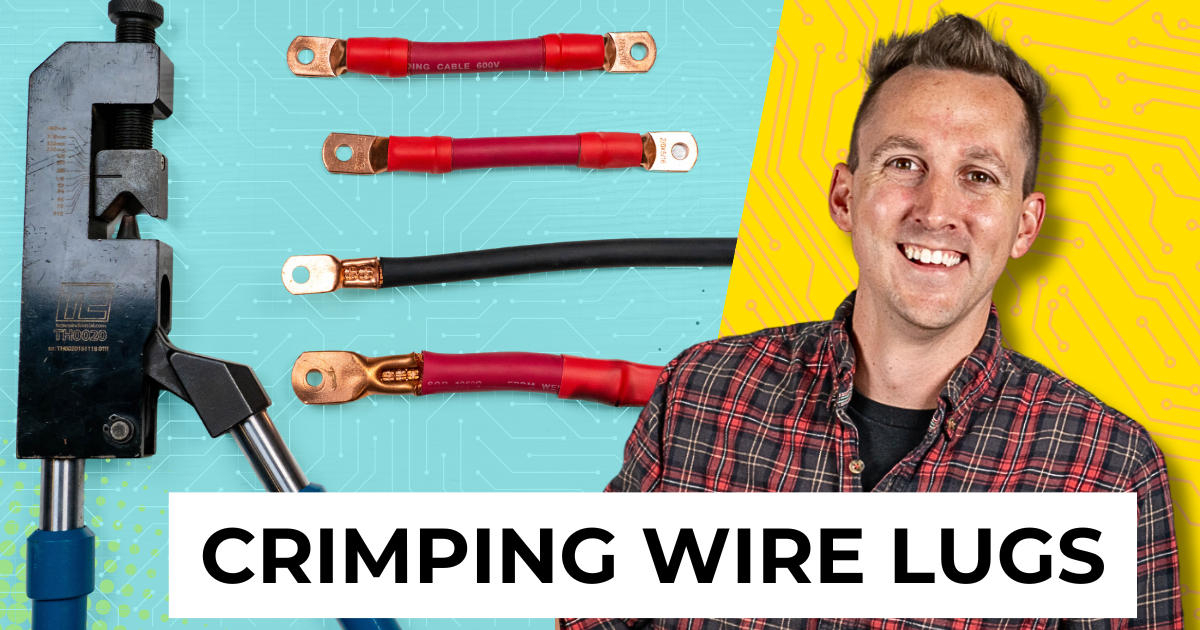
If you need to attach a wire to a stud like you’d find in an inverter, on a battery, or on a busbar; you’ll need to crimp a wire lug onto the wire, and that’s exactly what we are going to cover here in lesson #5 of this Wire Terminals playlist.

Wire Crimping 101 – VIDEO
How to Crimp Wire Lugs
Once you have the correct lug size for the wire size and the stud size of the equipment, we need a crimper.
Personally, I like this particular Temco crimper (or this one if it’s out of stock).

This crimper is adjustable for wire as small as 10 AWG all the way up to 4/0 by simply turning the knob on top and lining the selector mark up with the appropriate wire size line.
This crimper works by punching an indent into the lug every time the handles are squeezed.

Once the crimper is adjusted to the proper wire size:
- I’ll put my wire lug into the crimper
- Position it so that the ‘back’ of the lug is against the indent spike.
- Let the handle fall under its own gravity to hold the lug into place.
- Push the stripped wire into the lug & firmly hold it in place
- Press the handles together until the crimper bottoms out.
- If you feel like it was REALLY easy to squeeze together, tighten the knob up a bit.
- If there is room on the lug; you can crimp it twice for a bit of extra holding power buy crimping a bit further up the lug, which will end up looking like this:

Once it’s crimped, give the lug a good pull to make sure it doesn’t come loose. Here is a table with values for how much force you should be able to apply to the lug before it comes loose; and it’s truly a lot.

Most of us won’t have the means to measure this; just do your best and make good judgment calls here.
The process for crimping all wire lugs from 10AWG all the way to 4/0 are the same as I just showed; you just need to adjust the dial to match the wire size.
As a fun side quest, here is a lug I cut in half so that you can see how the fine strands are pushed together so hard that they effectively become one big block of solid copper inside of the lug.

After crimping, you’ll want to put some heat shrink on the lug, which we covered how to do back in lesson 4.4 of this academy.
Wire Lug Crimping Tips
Now you’ve got a high quality wire lug terminal that will last for years to come. Here’s some additional helpful tips:
- Make sure your wire lug is twisted to the proper direction before crimping. Once crimped, a wire may be hard to twist so the lug faces the right direction to attach to the component. This is most critical with short wires.
- Consider clamping your crimper to your work-table. When you’re putting pressure on the handle, if it falls over, it’ll most definitely smash your fingers. Ask me how I know.
Alternative Crimpers:
There are several different types of crimpers on the market, and I’ll give a few words of warning about a few of them.
- I’ve had bad luck with the sub-$100 yellow hydraulic crimpers with dies. I used this for our first van conversion back in 2017 and when I re-did the electrical system in 2021 to update it to Victron Equipment, I found that over half of the wire lugs were loose after 5 years on the road because with that crimper, you’re at the mercy of the size of the die and can’t get it any tighter than the die allows like what you can with this adjustable crimper here. Many like these; I don’t. Do with that info what you will.
- Hammer Crimpers also give inconsistent results, and with the way I’ve seen some of y’all swing a hammer… I can’t trust any of you to get consistent crimps that meet the ratings from the table I shared earlier.
There are also some more expensive crimpers on the market, but I don’t feel like they do any better of a job than this one; except for maybe a battery powered crimper where we could crimp wire in a tight space; an area where this one falls short, but at a pretty significant cost difference.
Now we are going to be putting wire lugs on a lot of wires throughout the rest of this academy, so be sure to bookmark this lesson for future reference and come back to it if you need a refresher because going forward, I’ll just assume that you now know how to crimp a wire lug.